웹 UI 기반의 서버 모니터링 및 관리 툴입니다
설치정보
Centos7.x cockpit 이 포함되었습니다
Ubuntu 17.04 이후버전에 포함되어있습니다
Centos7.x
설치
yum -y install cockpit
실행
systemctl start cockpit
자동실행 등록
systemctl enable cockpit.socke
서버의 iptables 방화벽 사용시 방화벽 포트오픈 [기본포트 9090을 사용하므로 9090포트를 오픈해도된다]
firewall-cmd –permanent –zone=public –add-service=cockpit
firewall-cmd –permanent –zone=public –add-port=9090/tcp //9090포트오픈
firewall-cmd –reload
접속
https://서버ip:9090/
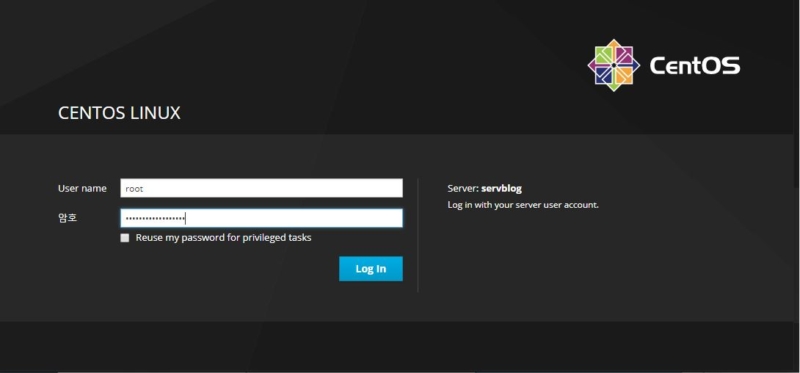
시스템 계정으로 로그인 합니다
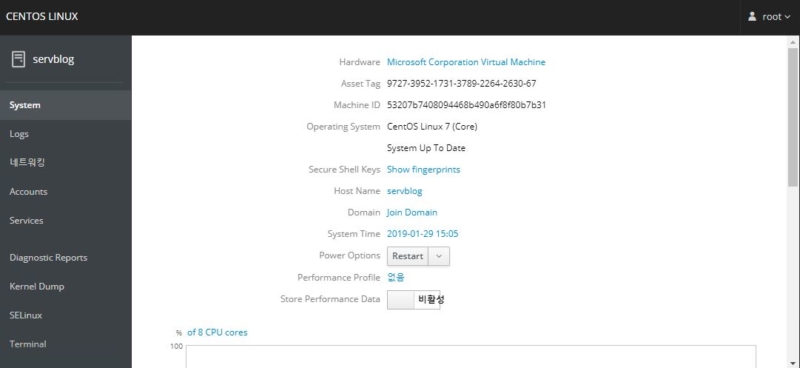
Cockpit 의 메인 화면입니다
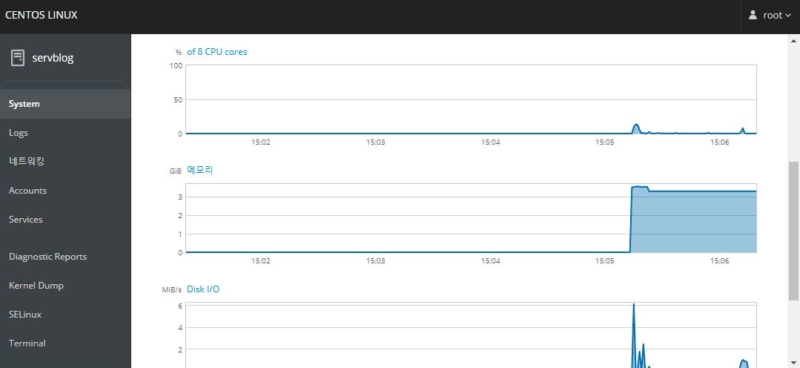
설치된서버의 cpu , memory, Disk I/O, Network Traffic 상태를 확인합니다
Power Options 에서 서버의 Restart 가 가능합니다
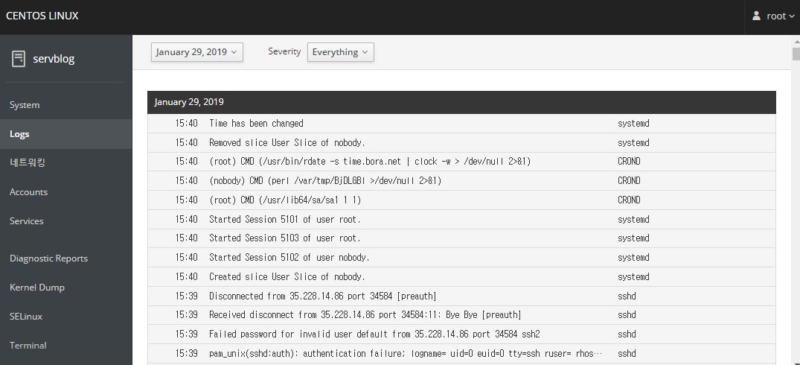
좌측 Log 메뉴에서 시스템로그를 항목별로 확인이 가능합니다
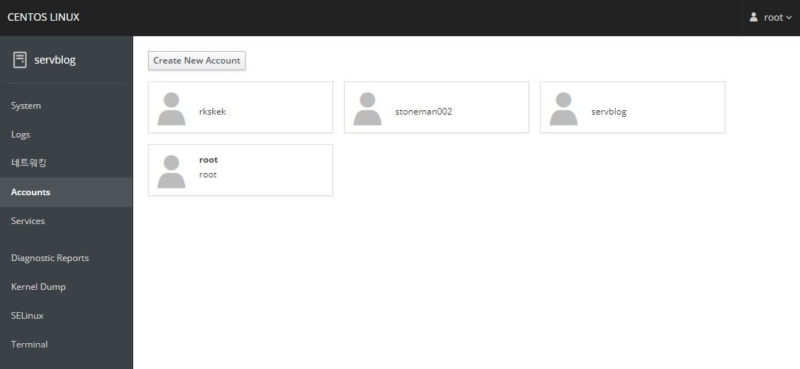
Accounts 메뉴에서 사용자 계정생성이 가능합니다
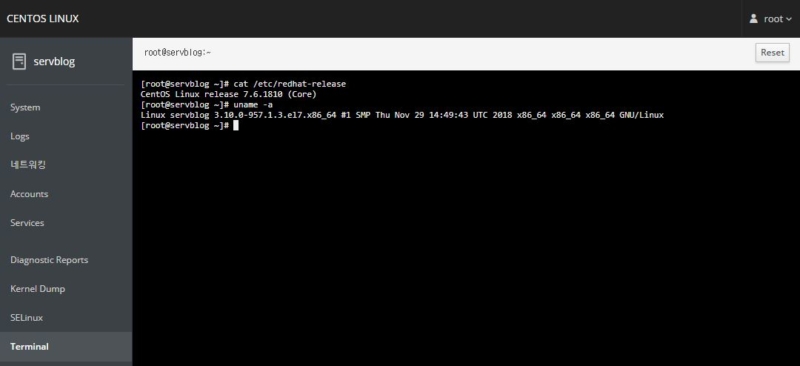
Terminal 메뉴에서 명령어를 입력하여 시스템 조작이 가능합니다
화면에 보이는 Reset 기능은 리프레쉬 기능입니다
Ubuntu 설치방법
Ubuntu
Cockpit is included in Ubuntu 17.04 and later, and available as an official backport for 16.04 LTS and later. Backports are enabled by default, but if you customized apt sources you might need to enable them manually.
Install the package:
sudo apt-get install cockpit
참조
https://cockpit-project.org/running

